To find the resolution sweet spot for Figma, Miro, and research tabs, you should adjust your display settings for clarity and comfort. Use a resolution that matches your device size, ensuring sharp visuals without clutter. Fine-tune contrast, scaling, and font sizes for better readability. Regular calibration and ergonomic setup help maintain consistency and reduce eye strain. Keep optimizing these settings over time to stay productive—there’s more to discover that can elevate your workspace further.
Key Takeaways
- The ideal resolution balances clarity and workspace space, typically between 1080p and 1440p for detailed design work.
- Use high-resolution displays (e.g., 2K or 4K) for sharper visuals, but ensure UI scaling maintains element readability.
- Adjust scaling settings to prevent UI elements from appearing too small or too large across Figma, Miro, and research tabs.
- Regularly calibrate color and contrast to ensure visual consistency and reduce eye strain during prolonged use.
- Optimize monitor ergonomics and resolution for a comfortable, efficient workflow tailored to your device and project needs.
LG 27US500-W Ultrafine Monitor 27-Inch 4K UHD (3840×2160) HDR10 IPS Borderless Design Reader Mode Flicker Safe Switch App HDMI DisplayPort – White
4K UHD with 1000:1 Contrast Ratio – This UltraFine display with a 1000:1 contrast ratio displays deeper blacks…
As an affiliate, we earn on qualifying purchases.
As an affiliate, we earn on qualifying purchases.
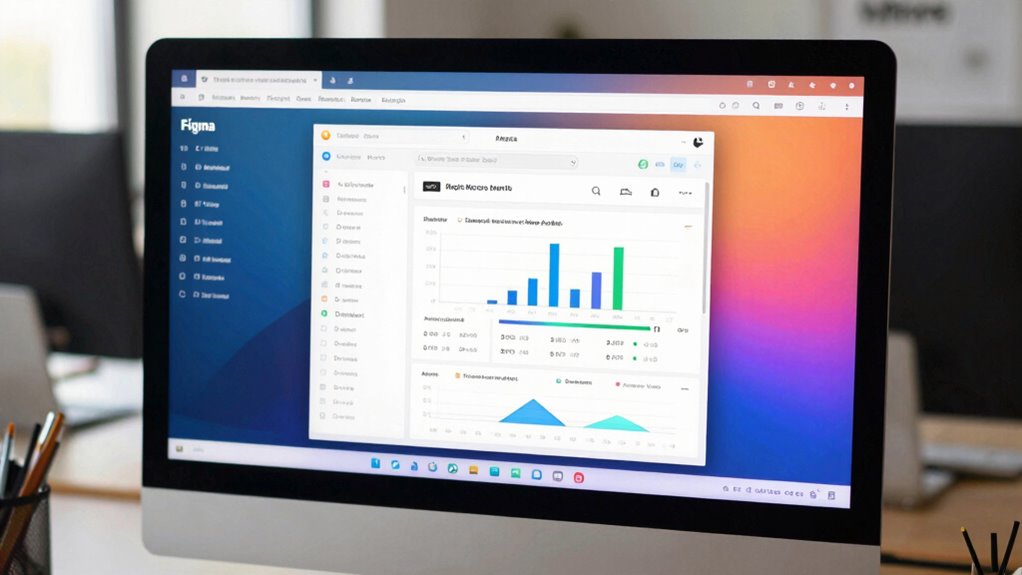
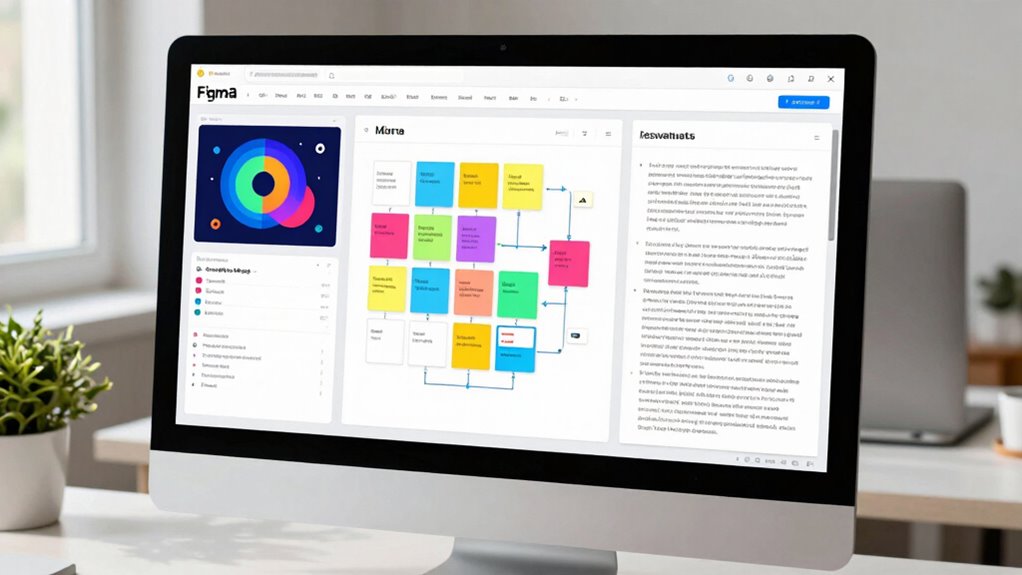
Find Your Perfect Resolution for Figma, Miro, and Research Tabs
Choosing the right resolution for your Figma, Miro, and research tabs is essential for a smooth workflow. Start by considering how color calibration affects your workspace—accurate colors help you distinguish elements clearly, reducing strain. Proper ergonomic positioning ensures your screen is at eye level and your viewing distance minimizes neck and eye strain. When adjusting resolution, aim for clarity without making elements too tiny or too large, which can hinder productivity. A balanced resolution enhances your ability to focus on design details and research data comfortably. Remember, the goal is to create a workspace where everything is easily visible and accessible, promoting both efficiency and comfort. Fine-tuning these aspects allows you to work more effectively without unnecessary fatigue. Additionally, understanding display resolution can help optimize your setup for better visual clarity and reduced eye strain.

VIVO Premium Single 17 to 32 inch VESA Monitor and Touch Screen Desk Stand with Rotating Base, Freestanding Pneumatic Height Adjustable Arm, 12 inch Maximum Screen Height, Black, STAND-V001R
Fits 17” to 32” Screens: Single freestanding tabletop monitor mount fitting most screens 17” to 32” in size….
As an affiliate, we earn on qualifying purchases.
As an affiliate, we earn on qualifying purchases.
What Factors Affect Your Workspace Resolution?
Your workspace resolution is influenced by your display size compatibility and how the user interface scales. If your screen is larger or smaller, it can affect how sharp and clear your workspace appears. Adjusting these factors guarantees you get the best viewing experience for your needs.
Display Size Compatibility
Display size compatibility plays an essential role in determining your workspace resolution because larger screens can display more content clearly, while smaller screens may require adjustments to guarantee readability. When working across different devices, you need to consider how display size affects your viewing experience. Proper color calibration ensures your visuals look consistent, regardless of screen size, which is crucial for design accuracy. Additionally, hardware compatibility matters—some devices may not support higher resolutions or advanced display settings, limiting your workspace’s potential. If your hardware isn’t compatible with your preferred resolution, you might face distorted visuals or reduced clarity. By understanding these factors, you can optimize your workspace setup, ensuring your Figma, Miro, and research tabs are clear, effective, and tailored to your device’s display capabilities. Recognizing display resolution differences helps prevent visual issues and improves overall workflow efficiency.
User Interface Scaling
While hardware compatibility and screen size set the foundation for your workspace, how your user interface is scaled profoundly affects your experience. Proper scaling ensures elements are easily clickable and readable without straining your eyes. Adjusting your display’s DPI settings or zoom levels can improve ergonomic viewing, reducing fatigue during long sessions. Color calibration also plays an essential role, helping you distinguish interface elements clearly and maintain visual comfort. Poor scaling may cause UI elements to appear too small or too large, making navigation frustrating. Striking the right balance involves testing different scaling options and ensuring your workspace remains sharp and comfortable. When your UI is scaled correctly, you optimize focus, reduce eye strain, and create a more efficient environment for design and research tasks.
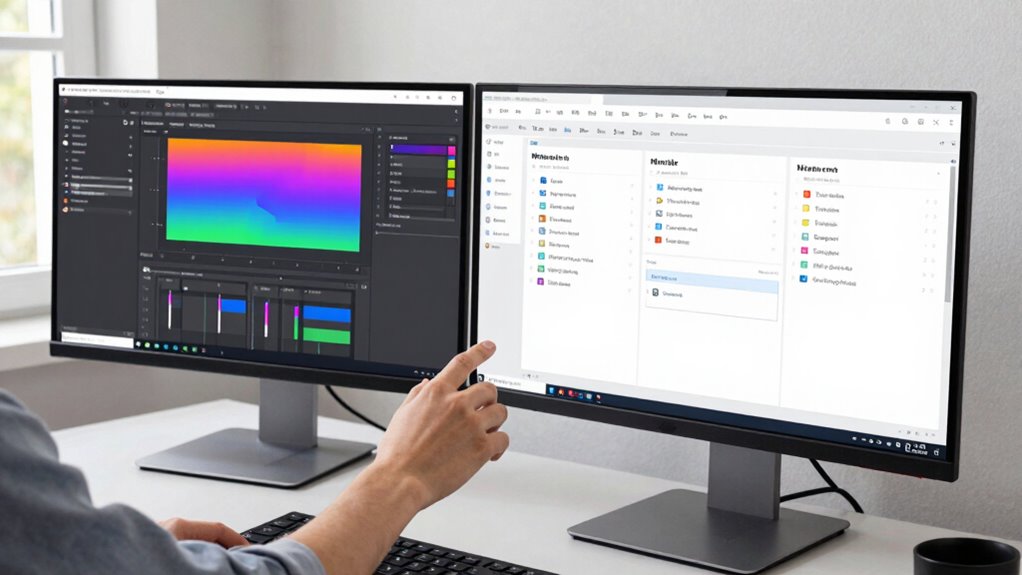
datacolor Spyder – Monitor Calibrator for Graphic Designers, Photographers, and Content Creators, Shows You True Colors, Works on OLED Monitors & LED Screens, Easy-to-Use Color Calibration Tool
Color “Surprises” Are a Thing of the Past: Datacolor’s exclusive DevicePreview TM Beta feature simulates what your photos…
As an affiliate, we earn on qualifying purchases.
As an affiliate, we earn on qualifying purchases.
Avoid Common Resolution Mistakes
Avoiding common resolution mistakes is essential to ensuring your designs look sharp and professional across all platforms. First, neglecting proper color calibration can lead to inaccurate hues, making your designs appear inconsistent. Second, overlooking hardware upgrades may cause performance issues, affecting your workflow. Third, setting resolutions that don’t match your target devices can result in blurry or pixelated visuals. Fourth, sticking to default display settings without customizing for your needs reduces clarity and precision. To prevent these issues, regularly calibrate your monitor’s colors and consider hardware upgrades that support higher resolutions. Always tailor your resolution settings to your specific project and device requirements to maintain sharp, professional results across Figma, Miro, and research tabs. Additionally, understanding wall surface finishes can help you choose the right visual settings for optimal clarity and accessibility features, ensuring your work is both clear and inclusive.
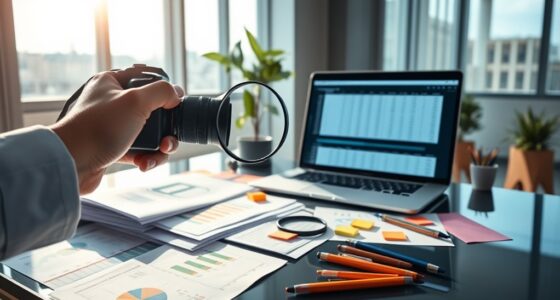
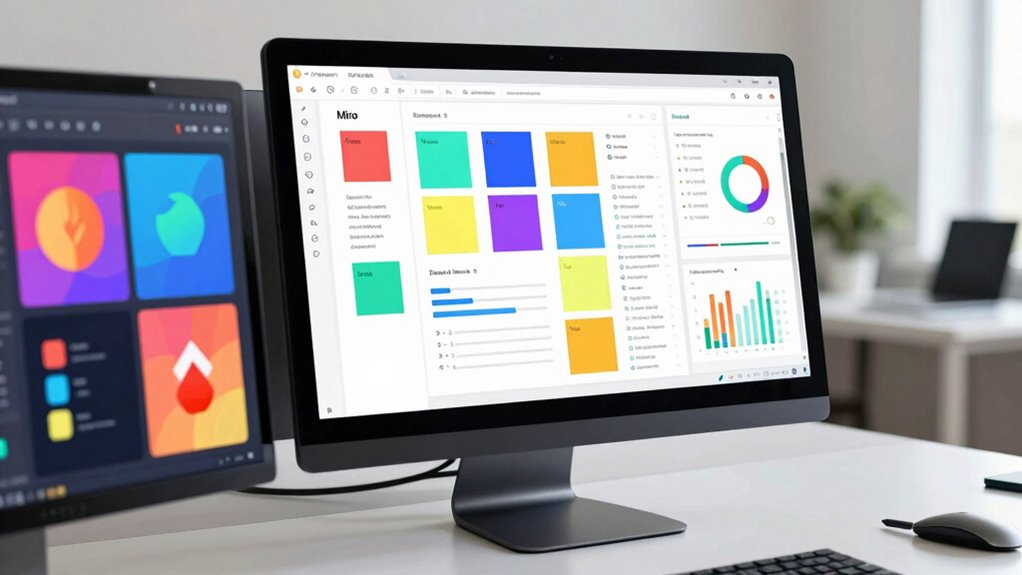
high-resolution display for Figma and Miro
As an affiliate, we earn on qualifying purchases.
As an affiliate, we earn on qualifying purchases.
Tips to Fine-Tune Your Resolution for Better Workflow
To improve your workflow, focus on adjusting your resolution for better clarity and screen space. Clearer visuals help you work more efficiently, while optimizing screen space reduces clutter. Small tweaks can make a big difference in how smoothly your tools perform.
Adjust for Clarity
Adjusting your resolution settings can substantially enhance clarity, making your designs easier to review and collaborate on. To achieve this, focus on these key adjustments:
- Color calibration: Fine-tune your display’s color settings to ensure accurate hues, improving visual consistency across tools.
- Font readability: Increase font size or adjust scaling to make text clearer, reducing eye strain during long sessions.
- Display sharpness: Adjust sharpness settings for crisper lines and details in your work.
- Contrast levels: Optimize contrast to distinguish elements easily, enhancing overall clarity.
Optimize Screen Space
Once you’ve fine-tuned your display settings for clarity, the next step is maximizing your screen space to streamline your workflow. Start by adjusting your color calibration to guarantee true-to-life visuals, reducing eye strain during long sessions. An ergonomic setup plays a vital role—position your monitor at eye level and maintain proper distance to prevent discomfort. Consider resizing or arranging your Figma, Miro, and research tabs for maximum visibility without clutter. Use multiple monitors if possible, dedicating specific screens to different tasks. Keep toolbars and menus minimized or hidden when not in use, freeing valuable space. These steps help you work more efficiently, reducing unnecessary back-and-forth and keeping your focus sharp. Effective space management enhances productivity and maintains comfort throughout your creative process.
Tools and Settings to Improve Your Resolution Quality
Enhancing your resolution quality in Figma, Miro, and research tabs often requires tweaking specific tools and settings. To improve clarity and visual consistency, focus on these key adjustments:
- Use color calibration tools to ensure accurate, vibrant colors that match your design intent. Natural pools and landscaping elements benefit greatly from precise color calibration to reflect real-world textures and hues accurately.
- Adjust display settings to optimize resolution, sharpness, and contrast for clearer visuals.
- Maintain font consistency by selecting standardized fonts and sizes across platforms.
- Fine-tune zoom levels and grid settings to balance detail visibility with workspace overview.
- Consider inclusive casting practices to create visuals that reflect diverse representation and appeal to a broader audience.
- Regularly verify your resolution settings to avoid pixelation and ensure your visuals remain sharp across different devices and screens.
These tweaks help you achieve a crisp, professional look while reducing eye strain. By calibrating colors and maintaining font consistency, you guarantee your visuals are both appealing and easy to interpret.
Test and Adjust Your Resolution for Long-Term Productivity
To guarantee your resolution remains effective over time, it’s essential to regularly test and fine-tune your display settings. Start with color calibration to ensure accurate hues, which helps you make precise design decisions and reduces eye strain. Next, evaluate your ergonomic setup—adjust monitor height, tilt, and distance to prevent discomfort during long sessions. Review your resolution periodically to see if it still supports your workflow comfortably. Small adjustments, like tweaking refresh rates or scaling, can notably boost productivity. Keep in mind that your visual needs may change, so staying proactive with these tweaks helps maintain clarity and reduces fatigue. Regular testing and adjustments ensure your workspace remains optimized for long-term focus and efficiency.
Frequently Asked Questions
How Do Different Screen Sizes Impact Workspace Resolution Choices?
Different screen sizes greatly influence your workspace resolution choices. You need to account for screen scaling to guarantee interface clarity across devices. On smaller screens, lower resolutions might cause elements to appear cramped, making it hard to work efficiently. Conversely, larger screens benefit from higher resolutions, providing clearer visuals and more space. Adjusting your workspace resolution accordingly helps you preserve ideal interface clarity and productivity, regardless of the device you’re using.
What Are Signs My Resolution Is Causing Eye Strain?
You might notice eye strain if your screen causes headaches or dry eyes, with studies showing 70% of users experience discomfort from poor resolution. Signs include blurred vision, redness, or difficulty focusing. To prevent this, make sure proper color calibration and brightness adjustment. These steps help reduce glare and eye fatigue, making it easier to work longer comfortably. If symptoms persist, consider adjusting your workspace or consulting an eye specialist.
Can Resolution Settings Affect Collaboration and Sharing?
Yes, resolution settings can impact collaboration and sharing. When your screen calibration isn’t ideal, colors may appear inaccurate, making it hard to communicate design details clearly. Higher resolutions improve clarity, but if others use different settings, it can cause discrepancies. Ensuring consistent resolution and color accuracy across devices helps your team see the same details, making collaboration smoother and reducing misunderstandings in shared projects.
How Often Should I Revisit and Adjust My Workspace Resolution?
You should revisit and adjust your workspace resolution regularly, especially when you notice discomfort or display issues. Prioritize workspace ergonomics by ensuring your screen resolution supports comfortable viewing angles, reducing eye strain. Also, check color calibration to keep visuals accurate for design accuracy and collaboration. Frequent adjustments help maintain a perfect work environment, ensuring your tools look right and your workspace remains comfortable for long periods.
Are There Recommended Resolution Presets for Specific Project Types?
Yes, there are recommended resolution presets tailored to project types. For design work, calibrate your display for accurate color calibration and set font scaling to guarantee readability. For collaborative projects in Miro or research tabs, choose a resolution that balances clarity with performance. Adjust presets based on your device’s capabilities, ensuring consistent visual quality and usability across different project phases. This approach helps maintain accuracy and efficiency.
Conclusion
Finding your perfect resolution isn’t just about pixels; it’s about clarity, comfort, and consistency. Adjust your workspace to suit your needs, avoid common pitfalls, and fine-tune your settings regularly. Test your setup, tweak your preferences, and prioritize what works best for you. By doing so, you’ll enhance your workflow, boost your productivity, and create a seamless digital environment. Keep refining, keep improving, and enjoy a workspace that works as hard as you do.