Lighting and surface prep are more important than most realize because they directly impact your paint’s appearance and longevity. Proper lighting reveals hidden flaws, allowing you to fix issues before you start, while good surface prep guarantees better adhesion and a smooth finish. Skipping these steps can lead to uneven coats, dull colors, or peeling paint over time. Keep going to discover how optimizing both can transform your painting results into a professional-looking finish.
Key Takeaways
- Proper lighting reveals surface flaws that can compromise paint adhesion and finish quality if overlooked.
- Adequate surface preparation ensures long-lasting, smooth, and consistent paint results.
- Good lighting allows accurate detection and correction of imperfections before painting begins.
- Effective surface prep enhances color matching, pigment application, and overall aesthetic appearance.
- Combining proper lighting and surface prep reduces rework, saves time, and ensures a professional-grade paint finish.

Adam's Polishes Surface Prep (16oz) – A Surface Cleanser Spray for Auto Paint Prep to Apply Any Ceramic Coating, Car Wax, or Spray Sealant | Use After Clay Bar, Car Wash & Orbital Polisher Treatment
✅ LUBRICATING FORMULA WITH HIGH IPA CONCENTRATIONS! Glide your towels across the surface reducing risks of scratches this…
As an affiliate, we earn on qualifying purchases.
As an affiliate, we earn on qualifying purchases.
Why Poor Lighting and Surface Prep Ruin Your Paint Job
Poor lighting and inadequate surface preparation can sabotage your entire paint job before you even start. Without proper lighting, you might miss spots, drips, or uneven surfaces, leading to inconsistent color application. This affects color consistency, making your walls look patchy or dull. Additionally, if the surface isn’t thoroughly prepared—cleaned, sanded, and primed—paint won’t adhere well, reducing its longevity. Cracks, bumps, or dirt can cause peeling or cracking over time, forcing you to repaint sooner than expected. Proper surface prep creates a smooth, clean canvas, ensuring even color distribution and better paint adhesion. Ultimately, neglecting these steps compromises the durability and appearance of your paint, wasting time and money on a job that won’t stand the test of time.

30000 Lumen LED Work Lights with Stand – 3 Adjustable Head Waterproof Foldable Tripod Light, 6500K Daylight (47-68" Height) & 18FT Cord – IP66 Rated for Construction Sites, Garage, Outdoor
【Built to Last – 5-Year Warranty】Engineered for extreme durability with military-grade aluminum housing and IP66 waterproof rating, this…
As an affiliate, we earn on qualifying purchases.
As an affiliate, we earn on qualifying purchases.
How Proper Lighting Helps You See Every Imperfection
Good lighting is essential for spotting every flaw in your surfaces before you start painting. It reveals imperfections like cracks, dents, and uneven textures that might be hidden in poor light. Proper light enhances color contrast, making subtle flaws stand out clearly. Light diffusion spreads illumination evenly, reducing harsh shadows that can hide imperfections. When you position your light correctly, you see the surface’s true condition, ensuring thorough prep work. Additionally, understanding contrast ratio helps you evaluate how well your lighting setup will reveal surface details. Using the right lighting techniques can further improve visibility of surface flaws, making your surface preparation more precise and effective. Without adequate lighting, you risk missing flaws that can ruin your finish. Incorporating lighting design principles can optimize your setup for maximum clarity, especially by adjusting brightness levels to suit different surfaces. Use lighting that balances brightness and diffusion to get a clear view, and paying attention to lighting angles can significantly improve the accuracy of your surface inspection.

Great Eagle Lighting LED Light Bulbs 60 Watt Equivalent, Daylight 5000K, E26 A19 Light Bulb, 800 Lumens, Non-Dimmable, 120V Energy Saving Bulbs for Garage Basement Office Workshop Outdoor, 6 Pack
60-WATT REPLACEMENT, ONLY 9 WATTS USED: These E26 A19 LED light bulbs deliver a bright 800 lumens while…
As an affiliate, we earn on qualifying purchases.
As an affiliate, we earn on qualifying purchases.
Choosing the Right Lighting for Painting Projects
When selecting lighting for your painting project, consider the benefits of natural light, which offers true color and reduces eye strain. If natural light isn’t available, choose artificial lighting that mimics daylight to guarantee accurate color matching. Keep in mind that proper color temperature and brightness are key to achieving a flawless finish. Additionally, understanding content formats can help you better evaluate the lighting options that will work best for your workspace. Being aware of lighting quality can further enhance your ability to select the most suitable illumination for precise color work. Incorporating knowledge of lighting techniques can also improve how you control shadows and highlights, ensuring a professional-looking outcome. Recognizing the importance of visual perception can help you adapt your lighting choices to better see the nuances in color and detail. Considering lighting and surface prep can further optimize your environment to reduce glare and enhance clarity during your project.
Natural Light Advantages
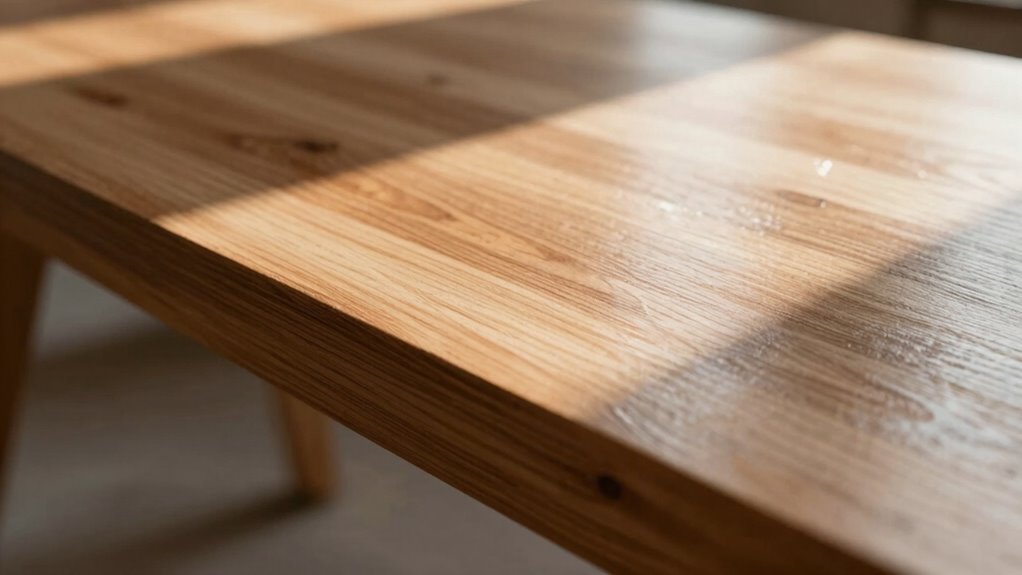
Have you ever noticed how natural light reveals true colors and subtle details more accurately than artificial lighting? Natural illumination offers unmatched daylight benefits that help you see your work as it truly appears. When you paint in daylight, you get a clear view of color accuracy and shading, reducing the risk of mismatched hues later. Natural light also minimizes glare and harsh shadows, providing a softer, more even illumination that highlights surface textures. This environment allows you to assess your progress more effectively and make precise adjustments. Using natural light during your painting projects guarantees you’re working with a true representation of your colors and surfaces, leading to a more polished, professional finish. It’s a simple yet powerful way to improve your results. Understanding how light affects perception can help you choose the optimal lighting conditions for your projects. Additionally, being aware of how lighting quality influences your visual assessment can significantly enhance the accuracy of your work. Recognizing the importance of surface preparation also ensures smoother application and better final results. Being mindful of mental wellbeing can also help create a more focused and productive painting environment. Moreover, ensuring proper security in payment processing when purchasing materials online can prevent disruptions in your workflow.
Optimal Artificial Lighting
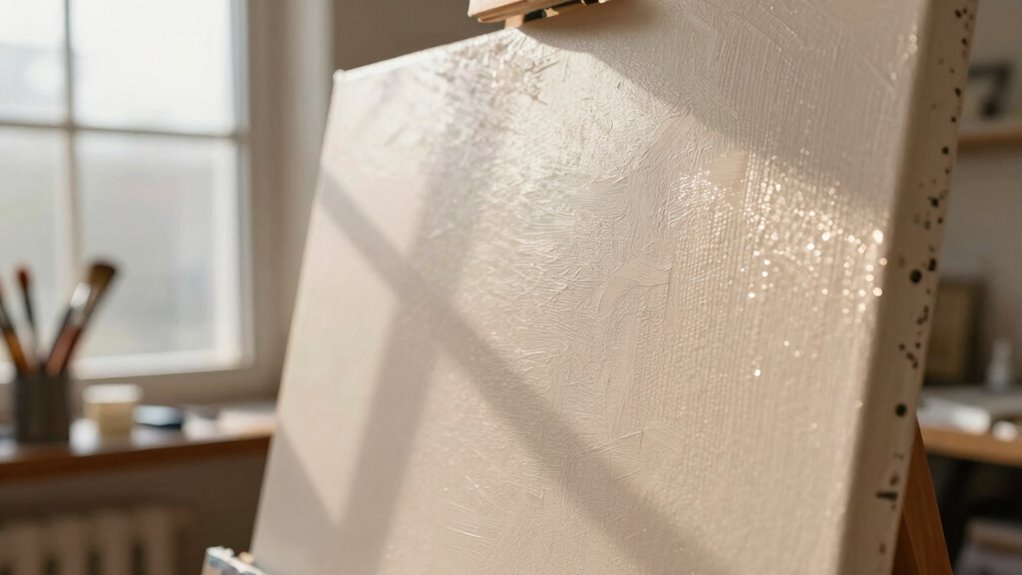
While natural light offers many benefits, it’s not always available or practical for every painting session. That’s where ideal artificial lighting comes in. You want a lighting ambiance that mimics daylight, providing consistent, neutral illumination to accurately see surface textures and details. Choose adjustable LED lights with a high Color Rendering Index (CRI) to reveal subtle surface variations and prevent color distortions. Position your lights to minimize shadows and glare, ensuring even coverage across your work area. Proper lighting helps you evaluate surface texture and fine details without straining your eyes or relying on inconsistent natural light. Incorporating smart lighting setups can further enhance your control and adaptability during different painting phases. Understanding indoor air quality and humidity control basics can also improve your workspace environment, reducing issues like mold or paint imperfections caused by excessive moisture. Additionally, selecting water-resistant lighting fixtures can protect your setup from accidental splashes or humidity. Maintaining a well-ventilated workspace is essential for safety and paint drying efficiency. Overall, the right artificial lighting creates a controlled environment, allowing you to focus on your craft with clarity and confidence. Paying attention to lighting decisions can significantly impact the quality of your work and your overall satisfaction.
Color Accuracy Considerations
Choosing the right lighting for your painting projects is essential because it directly impacts color accuracy. Proper lighting guarantees you achieve consistent color consistency and accurate shade matching, which are critical for a professional finish. Natural daylight is ideal because it reveals true colors without distortion, but if that’s unavailable, use full-spectrum LED lights. These simulate daylight and help you see subtle differences in shades. Avoid fluorescent lighting, as it can cast a dull or overly warm hue, skewing your perception of colors. When selecting lighting, consider its color temperature and brightness to match the environment you’ll be painting in. Using lighting quality that mimics natural conditions ensures more reliable color perception. Consistent, high-quality lighting minimizes color discrepancies, allowing you to make precise adjustments and guarantee your final work reflects your original vision accurately. Additionally, understanding digital currencies and CBDCs can inform your choices in modern lighting solutions that incorporate smart technology and energy efficiency. Recognizing how advanced materials are used to improve lighting fixtures can also help you select more durable and efficient options. Incorporating lighting system optimization techniques can further enhance the accuracy and consistency of your color perception throughout the project.

NextLED NT-6615K CRI 95 Auto Detailing Light, Rechargeable Pocket Flashlight, 430 Lumen, 6000K, Magnetic, Spot/Flood/365nm UV Light 3 in 1, for Paint Correction, Swirl Finder, Pro Paint Matching Tool
[CRI 95+ PRECISION LIGHTING] – Perfect as a detailing light and paint inspection light, this rechargeable pen flashlight…
As an affiliate, we earn on qualifying purchases.
As an affiliate, we earn on qualifying purchases.
Tools and Techniques for Effective Surface Cleaning and Sanding
To get your surface ready for painting, start by choosing the right cleaning tools to remove dirt and grease effectively. Next, apply proper techniques for surface preparation to guarantee a solid bond, and then select appropriate sanding methods for a smooth finish. Mastering these tools and techniques will make your project easier and produce professional results. Additionally, incorporating air fryer accessories designed for cleaning and surface maintenance can help streamline your prep process and ensure a pristine surface.
Choosing Proper Cleaning Tools
Selecting the right cleaning tools is essential for achieving a smooth, clean surface before painting or finishing. Proper tools help you remove dirt, grease, and old coatings effectively, setting the stage for a flawless finish. When choosing brushes, sponges, or scrub pads, consider tool ergonomics—it should feel comfortable and reduce fatigue during use. This not only improves control but also guarantees thorough cleaning. Color matching your cleaning tools to your project’s needs can prevent cross-contamination, especially when working with different materials or finishes. For example, using a dedicated brush for certain surfaces helps maintain consistency. By selecting tools that fit your hand comfortably and suit your cleaning task, you’ll work more efficiently and achieve better results with less effort.
Techniques for Surface Preparation
Effective surface preparation begins with the right tools and techniques to thoroughly clean and smooth the material. Proper cleaning removes dust, grease, and old finishes, ensuring a clean base for painting. Sanding enhances surface texture and creates a slight roughness, improving paint adherence and color contrast. Use abrasives suited to your surface, from fine to coarse, depending on the project. For delicate surfaces, gentle cleaning and light sanding work best. Keep in mind that surface texture influences how paint and lighting interact. The table below highlights key tools and their purpose:
| Tool | Purpose |
|---|---|
| Wire brush | Remove rust and loose debris |
| Sandpaper | Smooth surface, improve texture |
| Chemical cleaners | Deep clean, remove stains |
| Scrapers | Eliminate old paint or varnish |
| Microfiber cloth | Final wipe, dust removal |
Sanding Methods for Smooth Finish
Achieving a smooth finish begins with choosing the right sanding tools and techniques tailored to your surface. Start with coarse grit sandpaper to remove major imperfections, then switch to finer grits for a polished look. Use a sanding block or an orbital sander for even pressure and consistent results. Keep the surface clean to avoid scratches and assure proper color matching of your paint or stain. Remember, mood lighting can influence how you see your progress, highlighting areas that need more attention. Light at different angles reveals flaws you might miss otherwise. Always sand with the grain to prevent unwanted scratches. Proper surface prep, combined with the right tools and techniques, guarantees a flawless, professional-looking finish.
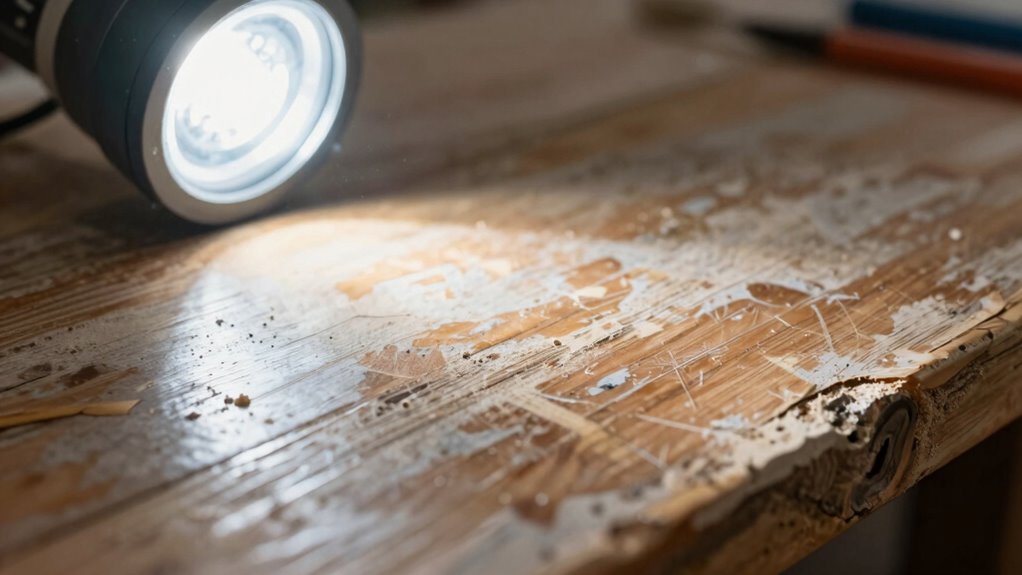
Using Lighting to Detect Surface Flaws and Texture
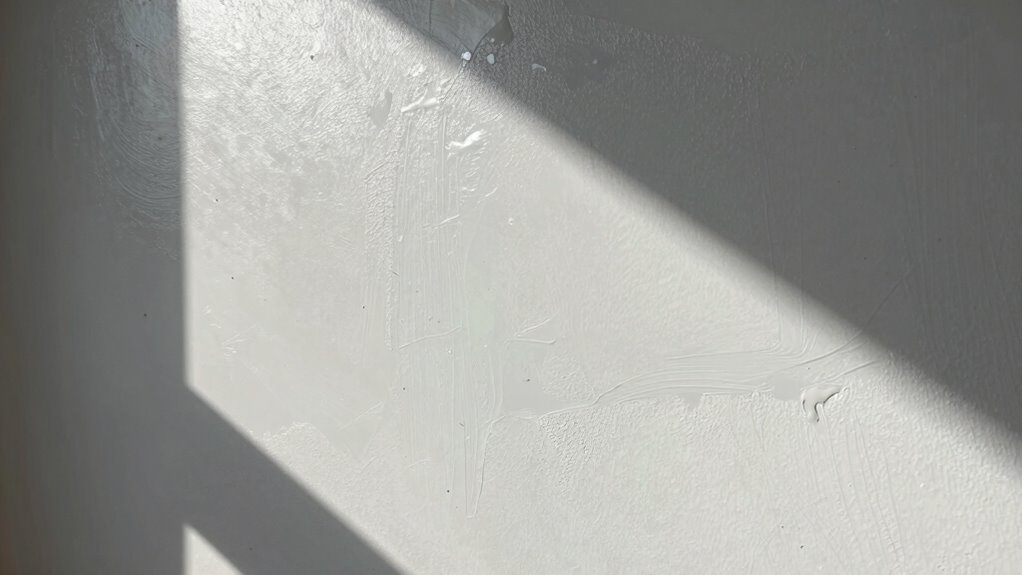
Lighting plays a crucial role in revealing surface flaws and textures that might otherwise go unnoticed. Proper lighting emphasizes surface glare, making imperfections like scratches, dents, or unevenness stand out clearly. By adjusting the angle of your light source, you can create shadows that highlight subtle surface irregularities. Light diffusion helps soften harsh reflections, providing a more even illumination that exposes flaws without overwhelming glare. Using directional lighting at shallow angles enhances the visibility of texture differences, guiding your eye to imperfections. Pay attention to how the light interacts with the surface—uneven reflections indicate flaws or rough patches. This technique allows you to identify areas that need further prep, ensuring your surface is smooth and flawless before proceeding.
Common Surface Preparation Mistakes and How to Avoid Them
One common mistake in surface preparation is rushing through cleaning and neglecting to remove all contaminants, which can cause issues like poor paint adhesion or uneven finishes. Additionally, overlooking the importance of color contrast can make surface flaws harder to spot, especially if lighting angles aren’t optimized. Proper lighting should highlight surface imperfections and reveal leftover debris or grease. Failing to adjust lighting angles can cast shadows that hide flaws or create misleading reflections. It’s essential to guarantee the surface is thoroughly cleaned, free of dust, grease, or old paint. Use lighting that enhances contrast and reveals surface irregularities clearly. By paying attention to these details, you avoid costly mistakes and set yourself up for a smooth, durable finish.
How Surface Prep Improves Paint Durability and Finish

Proper surface prep guarantees your paint sticks better, making it last longer and resist chipping. It also helps prevent flaws like bumps or cracks that can ruin the final look. When you take the time to prepare, you get a smoother, more even finish that stands the test of time.
Enhances Paint Adhesion
Surface preparation plays a crucial role in ensuring that paint adheres firmly to the substrate. Proper surface prep creates a clean, smooth base, which is essential for effective color matching and uniform coverage. When you prepare the surface well, you reduce contaminants like grease, dust, or old paint that can cause peeling or cracking. Light diffusion techniques can help identify imperfections, so you can address them before painting, ensuring better adhesion. This process also promotes better penetration of the primer and paint, resulting in a stronger bond. When the surface is adequately prepared, your paint sticks better, lasting longer and providing a more even, professional-looking finish. Good surface prep ultimately enhances the durability and aesthetic appeal of your paint job.
Prevents Surface Flaws
Thorough surface prep is essential because it directly prevents common flaws that can compromise your paint’s durability and appearance. Proper prep guarantees a smooth, flaw-free surface that resists peeling, cracking, and bubbling. It also promotes better color matching by enabling consistent pigment application. Additionally, surface prep enhances material compatibility, reducing the risk of reactions that cause discoloration or texture issues.
- Remove dirt, grease, and old paint to avoid blisters and peeling.
- Sand or smooth rough areas for an even finish, preventing visible blemishes.
- Use appropriate primers to improve adhesion and align paint with surface materials, avoiding mismatched textures.
These steps help you achieve a long-lasting, flawless finish that withstands wear and environmental factors.
Promotes Even Finish
When you take the time to prepare your surfaces carefully, you set the stage for an even, professional-looking finish. Proper surface prep guarantees color consistency across the entire area, reducing variations that can be caused by uneven textures or old paint remnants. It also minimizes lighting shadows that highlight imperfections, helping your paint look smooth and uniform. By sanding and cleaning thoroughly, you create a flat, even surface that allows the paint to adhere better and dry evenly. This prevents streaks and blotches, resulting in a more consistent color and finish. When lighting conditions are considered during prep, you can spot and address surface flaws earlier, ensuring the final coat appears flawless and durable. Good surface prep ultimately leads to a more polished, long-lasting paint job.
Assessing Surface Condition: Tips for a Flawless Finish
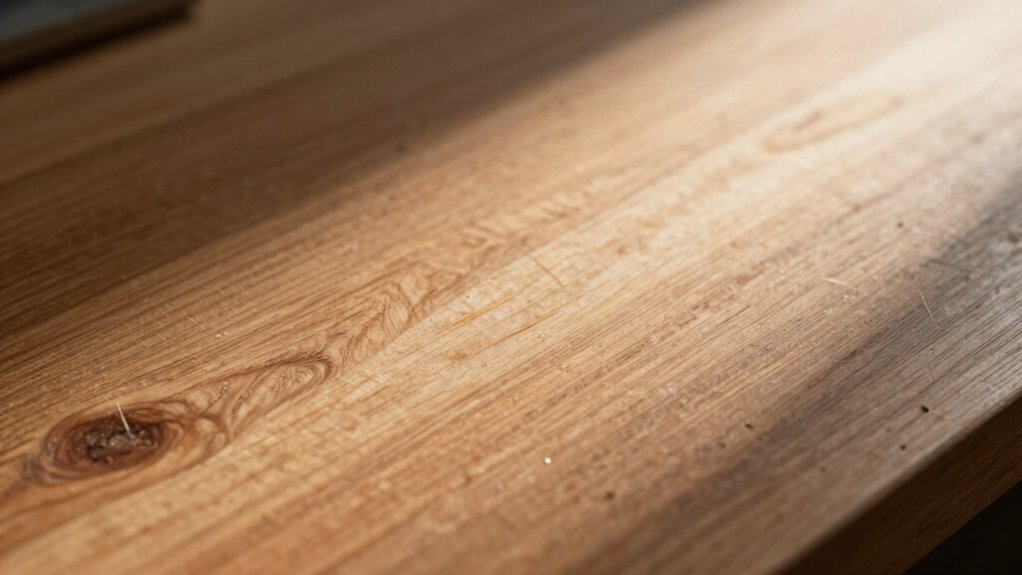
Before applying any paint or finish, take a close look at the area to identify imperfections that could affect the final result. Check the surface texture; uneven textures can cause inconsistent paint sheen and rough patches. Smooth out rough spots and fill holes or cracks to guarantee a uniform surface. Pay attention to existing paint; glossy surfaces reflect more light and may highlight flaws, while matte finishes hide imperfections better. To assess, follow these steps:
- Examine the entire surface under different lighting conditions to spot bumps or dips.
- Run your hand over the surface to feel for uneven areas.
- Test a small section with your chosen paint sheen to see how it interacts with the surface texture.
Addressing these issues guarantees a flawless finish with even sheen and smooth appearance.
Troubleshooting Surface Flaws Before You Paint

Identifying and fixing surface flaws before you paint can save you from disappointment later. Start by inspecting your surface closely for cracks, holes, or rough patches that could affect the final finish. Sand down imperfections to create a smooth base, and clean the surface thoroughly to remove dust and grease. If you notice any peeling or flaking paint, remove it completely before applying a new surface coating. Proper primer application is essential—choose the right primer for your surface and guarantee it’s evenly applied to seal flaws and improve adhesion. Addressing these issues beforehand prevents issues like bubbling or uneven color, saving time and effort. Taking the time to troubleshoot surface flaws now ensures your paint job will look professional and last longer.
Combining Lighting and Surface Prep for Professional Results
Proper lighting plays an essential role in surface preparation because it reveals imperfections that might otherwise go unnoticed. To achieve professional results, combine strategic light positioning with thorough surface prep. First, adjust your lighting to highlight surface flaws and guarantee even coverage; this helps with precise color matching. Second, use natural or neutral-colored lights to prevent color distortion, aiding in accurate color matching and consistency. Third, evaluate your surface under different angles of light to spot hidden imperfections, ensuring a smooth finish. By carefully positioning your lights and maintaining a clean, well-prepped surface, you’ll enhance visibility, reduce errors, and achieve a flawless, professional look. This synergy between lighting and surface prep ensures your final results are both vibrant and perfectly matched.
Frequently Asked Questions
How Does Lighting Influence Color Accuracy During Painting?
Lighting heavily influences color accuracy during painting because it affects how you perceive colors and match shades. Poor or uneven ambient illumination can distort colors, making it hard to achieve precise color matching. When your lighting is consistent and natural, you see true colors, ensuring your paint choices match your vision. Proper lighting helps you avoid surprises, giving you confidence that your finished work reflects your intended color palette.
What Are the Best Types of Lighting for Detailed Surface Inspection?
For detailed surface inspection, you want lighting that guarantees color consistency and minimizes unwanted light reflection. Opt for bright, neutral-colored LED lights or daylight-balanced bulbs, as they provide consistent, true-to-color illumination. Adjustable, diffuse lighting helps reduce glare and harsh reflections, revealing surface imperfections clearly. Using multiple light sources from different angles further enhances visibility, making it easier to spot flaws and assess surface quality accurately.
Can Surface Prep Techniques Vary Based on Lighting Conditions?
Have you ever noticed how surface texture looks different under various lighting? Yes, surface prep techniques can vary based on lighting conditions. You need to take into account material compatibility to ensure cleaning methods don’t damage the surface. For example, a rough surface might require gentle cleaning under bright, direct light to highlight flaws, while smooth surfaces may need different prepping to prevent reflections. Adjust your prep accordingly for the best inspection results.
How Often Should Lighting Be Adjusted During a Painting Project?
You should adjust lighting regularly during your painting project, especially when working on large or detailed areas. Proper Light positioning helps maintain color consistency and reveals imperfections. Check your work under different lighting conditions and make adjustments as needed to guarantee even coverage and accurate color matching. Consistent lighting prevents surprises in the final result, giving you confidence that your paint job looks great from every angle and in all lighting situations.
What Are Common Signs of Poor Surface Prep Under Different Lighting?
You’ll notice surface contamination or uneven texture glaringly obvious under different lighting—like a glaring spotlight exposing every flaw. These signs often look exaggerated, but they’re real. Poor surface prep causes paint to peel, bubble, or fade quickly. When lighting reveals dust, grease, or uneven surfaces, it’s time to re-sand, clean thoroughly, and prep properly. Don’t ignore these signs; they’re your clues to a flawless finish.
Conclusion
Remember, the subtle art of lighting and surface prep isn’t just about appearances—it’s about laying the groundwork for perfection. When you pay attention to these details, you’re gently guiding your project toward a flawless finish that truly stands out. Embrace these steps as your secret allies; they’ll help you navigate the delicate nuances that turn a good paint job into a masterpiece. After all, it’s often the quietest efforts that leave the most lasting impression.