When evaluating 3D assets, focus on how textures are captured for accurate, high-resolution details that enhance realism. Check if point clouds are managed efficiently, with noise reduced and data organized to prevent file bloat. Look for clean, well-optimized meshes free of holes or artifacts, which guarantee smooth surfaces and proper topology. Avoid common mistakes like over-smoothing or inconsistent lighting. If you keep exploring, you’ll discover more tips to spot quality craftsmanship.
Key Takeaways
- Accurate color calibration and high-quality textures enhance realism while balancing texture resolution for performance.
- Proper point cloud management, including noise reduction and segmentation, ensures clean data for mesh creation.
- Mesh cleanup involves fixing holes, overlaps, and artifacts to achieve smooth, accurate surfaces suitable for rendering.
- Use optimized materials and maps to improve visual quality without compromising system performance.
- Regular quality review and workflow automation help prevent errors and ensure seamless asset integration.
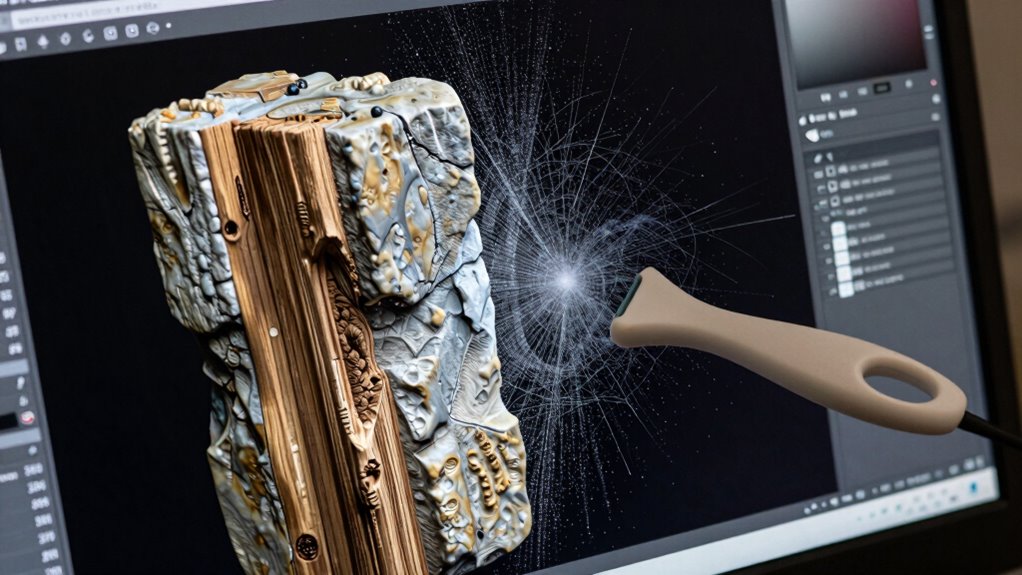
high resolution 3D texture scanner
As an affiliate, we earn on qualifying purchases.
As an affiliate, we earn on qualifying purchases.
What Are Texture Capture, Point Clouds, and Mesh Cleanup?
Texture capture, point clouds, and mesh cleanup are vital steps in the 3D scanning and modeling process. When capturing textures, you must guarantee proper color calibration so that the colors are accurate and consistent across the model. This process involves adjusting the camera settings and lighting to match real-world colors. Point clouds are collections of data points representing the scanned object’s surface, serving as the foundation for creating detailed 3D meshes. During mesh cleanup, you refine the model by removing noise and filling gaps. Data interpolation plays an indispensable role here, filling in missing information from the point cloud to produce a smooth, accurate surface. Additionally, maintaining digital content formats ensures the model remains accessible and adaptable over time. Together, these steps ensure your final 3D model is both visually precise and geospatially reliable.
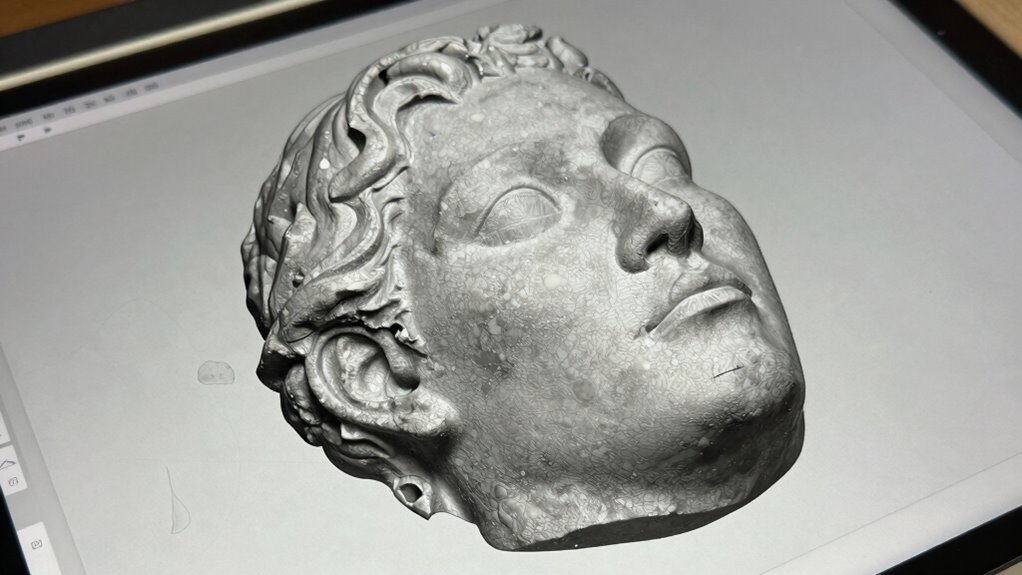
point cloud data management software
As an affiliate, we earn on qualifying purchases.
As an affiliate, we earn on qualifying purchases.
How Texture Capture Affects Model Realism and Quality
Accurate texture capture plays a crucial role in enhancing a 3D model’s realism and visual appeal. When you focus on high texture resolution, your model gains detailed surface features that make it more convincing. Material accuracy ensures that textures reflect real-world surfaces, like metal, fabric, or wood, adding authenticity. Poor texture resolution can make models look blurry or flat, reducing realism. Conversely, precise material capture preserves surface qualities, making materials appear true to life.
| Aspect | Impact on Model Quality |
|---|---|
| Texture resolution | Sharpness and detail retention |
| Material accuracy | Authentic surface appearance |
| Resolution level | Overall clarity of textures |
| Surface fidelity | Realism of material simulation |
| Visual appeal | Engagement and believability |
mesh cleanup tools for 3D modeling
As an affiliate, we earn on qualifying purchases.
As an affiliate, we earn on qualifying purchases.
Managing Dense Point Clouds: Tips and Best Practices

To handle dense point clouds effectively, you need to implement efficient data storage techniques that minimize file size without losing detail. Noise reduction strategies also play a vital role in improving the clarity and accuracy of your data. Applying these best practices guarantees smoother processing and higher-quality final models. Additionally, understanding store return policies and hours for popular retailers can help you plan necessary software or hardware upgrades conveniently. Recognizing signs of Twin Flame Connection can also guide your approach to managing emotional and energetic aspects during complex data processing. Incorporating color accuracy considerations can further enhance the fidelity of your models, especially when visual precision is critical. For example, ensuring your models have a high horsepower rating can improve their performance in demanding environments. Furthermore, adopting a balanced approach to co-parenting can lead to more harmonious teamwork when managing collaborative projects or shared responsibilities.
Efficient Data Storage Techniques
Managing dense point clouds can quickly become a storage challenge due to their large file sizes. To optimize storage, consider compressing data without losing quality, using efficient formats like LAS or E57. Implement workflow automation to streamline data management, reducing manual handling and minimizing errors. Keep digital asset licensing in mind by storing only authorized datasets and avoiding unnecessary duplicates. Segment large point clouds into smaller, manageable chunks for easier access and quicker processing. Regularly delete outdated or redundant data to free space. Use cloud storage solutions with scalable plans to accommodate growth. By applying these techniques, you guarantee smoother workflows, reduce costs, and maintain organized, accessible datasets for future projects.
Noise Reduction Strategies
Dense point clouds often contain noise that can hinder analysis and visualization, making noise reduction a essential step in processing. To improve results, consider using AI-generated textures that help identify and filter out irrelevant data. Hardware acceleration plays a key role, speeding up noise reduction algorithms and allowing real-time processing. When managing dense clouds, keep these best practices in mind:
- Use filtering tools that leverage AI for smarter noise detection
- Enable hardware acceleration to enhance processing speed
- Regularly review data to avoid over-smoothing important details
- Apply targeted noise reduction before mesh creation for cleaner outputs
3D mesh repair kit
As an affiliate, we earn on qualifying purchases.
As an affiliate, we earn on qualifying purchases.
A Step-by-Step Guide to Mesh Cleanup
When cleaning your mesh, start by spotting imperfections like holes, overlaps, or stray vertices. Use specific techniques to refine the mesh, such as smoothing surfaces or removing unwanted elements. These steps will help you create a cleaner, more accurate model ready for texturing and analysis.
Identifying Mesh Imperfections
To effectively clean up a mesh, you first need to identify its imperfections. Look for issues like color bleeding, where colors spill outside their boundaries, or artifacts that distort the model’s surface. These imperfections can affect the final quality and require correction. Focus on areas with strange shading or unexpected holes. Use visualization tools to highlight problem spots. Keep an eye out for:
- Unnatural seams or cracks
- Unwanted overlapping geometry
- Inconsistent surface smoothness
- Color bleeding or mismatched textures
Recognizing these issues early ensures you can target artifact correction efficiently. Addressing imperfections before refining the mesh helps create a cleaner, more accurate model, improving texture capture and overall quality.
Techniques for Mesh Refinement
Once you’ve identified the imperfections in your mesh, the next step is to systematically refine and clean it up. Start with UV mapping to guarantee textures align properly, which helps in identifying areas needing correction. Use tools for polygon reduction to simplify overly dense regions, improving performance and making editing easier. Focus on removing non-manifold edges and filling holes to create a seamless surface. Clean up stray vertices and merge overlapping points to eliminate artifacts. Carefully optimize the mesh without sacrificing detail, balancing polygon count and visual fidelity. These techniques help produce a cleaner, more efficient mesh ready for rendering or 3D printing. Regularly inspecting and adjusting UV maps and polygon density ensures your model remains accurate and optimized throughout the refinement process.
Choosing the Best Tools for Texture, Point Clouds, and Mesh Processing
Choosing the right tools for texture, point cloud, and mesh processing is vital to achieving high-quality 3D models efficiently. You need software that supports material mapping to apply textures accurately and guarantees seamless integration across your workflow. Compatibility with your existing hardware and other software is essential to avoid delays. Look for tools that offer:
Selecting compatible tools with strong material mapping ensures efficient, high-quality 3D modeling workflow.
- Robust support for various file formats
- Advanced material mapping features
- User-friendly interfaces
- Reliable performance with large datasets
Prioritize software that aligns with your project needs and technical skills. This guarantees smoother processing, better results, and easier updates. Selecting versatile, compatible tools helps streamline your workflow, reducing errors and saving time in the long run.
Common Mistakes in 3D Asset Creation and How to Avoid Them
Many common mistakes in 3D asset creation stem from overlooking foundational details or rushing through processes. One mistake is neglecting material optimization, which can lead to unnecessarily complex textures that slow down rendering and reduce performance. To avoid this, focus on simplifying materials without sacrificing quality and use appropriate maps to enhance realism. Another frequent error is inconsistent lighting, which can make assets look unnatural or mismatched in scenes. Guarantee lighting remains consistent across assets by setting standard light sources and color temperatures. Additionally, rushing through mesh cleanup can leave artifacts or non-manifold geometry that cause problems later. Take the time to thoroughly clean and optimize your meshes, ensuring smooth surfaces and proper topology. Paying attention to these details helps create professional, high-quality assets that integrate seamlessly.
How Buyers Can Assess the Quality of Textures and Meshes

When evaluating the quality of textures and meshes, you need to look beyond their visual appeal and examine their technical details. Check for consistent color application across different parts of the model to guarantee realistic results. Pay attention to texture resolution; higher resolution provides sharper details but can increase file size. Inspect the mesh for smoothness and proper topology, avoiding visible artifacts or irregularities. Consider these key points:
- Color consistency across all textures
- Adequate texture resolution for your project needs
- Clean, well-structured mesh topology
- Absence of visual artifacts or distortions
Frequently Asked Questions
How Long Does the Entire Texture Capture and Mesh Cleanup Process Typically Take?
The entire texture capture and mesh cleanup process usually takes between a few hours to a couple of days, depending on your project’s complexity. If you prioritize high texture resolution, it might extend the capture speed slightly, requiring more time for detailed textures. Efficient workflows and quality equipment can speed things up, but remember, meticulous cleanup guarantees your final mesh looks sharp and professional.
What Are the Cost Differences Between Manual and Automated Mesh Cleanup?
Manual mesh cleanup generally costs more due to the labor-intensive process, with prices often ranging higher per project. Automated cleanup offers a cost-effective alternative, reducing labor costs considerably and speeding up delivery. When doing a cost analysis, you should consider your budget and project complexity. Automated tools work well for straightforward cases, while manual cleanup might be necessary for detailed, high-precision models.
Can Texture Capture Be Performed on Moving or Dynamic Objects?
You can capture textures on moving targets, but it’s challenging with dynamic objects. Like trying to catch a butterfly, capturing textures on moving or dynamic objects requires high-speed equipment and precise timing. If the object shifts during scanning, the texture data becomes blurry or incomplete. For best results, static objects are ideal, but with advanced technology, capturing textures on moving targets is possible, though more complex and costly.
How Do Lighting Conditions Impact Texture Quality During Capture?
Lighting conditions greatly impact texture quality during capture. If lighting isn’t consistent, you’ll notice uneven shading and color discrepancies. Surface reflectivity also plays a role; highly reflective surfaces can cause glare, obscuring details and reducing clarity. To get the best results, guarantee stable, even lighting with minimal reflections. This helps maintain consistent lighting conditions, resulting in sharper, more accurate textures that enhance your final 3D models.
What Are the Most Common Industry Standards for Mesh Accuracy and Detail?
You should look for industry standards that specify a surface resolution of at least 1 millimeter for high-detail applications, guaranteeing precise surface detail. Data fidelity is also essential, meaning the mesh accurately reflects the original object’s geometry without distortion or loss of detail. These standards help guarantee that the mesh maintains accuracy and detail, meeting the requirements for quality, precision, and reliable use in professional projects.
Conclusion
Think of creating 3D assets like tending a garden. Each step—from capturing textures to cleaning up meshes—is like nurturing different plants. When you give attention to detail and choose the right tools, your virtual garden flourishes with vibrant, realistic scenes. Keep learning and refining your skills, and you’ll transform raw data into stunning digital landscapes that captivate and impress. Your mastery turns digital seeds into breathtaking virtual worlds.