
Poor lighting choices can make even the best cameras produce dull, unflattering images. Common mistakes include ignoring color temperature, using harsh shadows, and over- or underexposing shots. These errors flatten textures, distort colors, and create unbalanced scenes that diminish your photo quality. By understanding how to control natural and artificial light effectively, you can avoid these pitfalls. Keep exploring, and you’ll discover how to master lighting techniques that make your photos truly stand out.
Key Takeaways
- Ignoring white balance causes unnatural colors, undermining the camera’s capabilities.
- Poor light direction results in flat or unflattering images, regardless of camera quality.
- Overexposure washes out details, making even high-end cameras produce dull photos.
- Harsh shadows from improper lighting obscure subjects and reduce image clarity.
- Using inconsistent or incorrect lighting temperatures diminishes the camera’s ability to capture true colors.
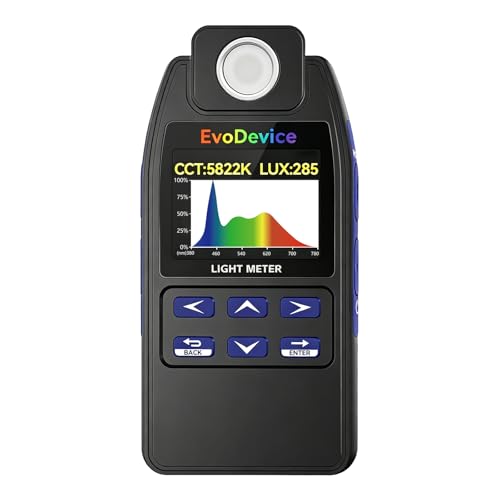
E130 Light Meter – Accurate Lux & Color Temperature (CCT) for Any Light Source, 99-Point Light Mapping, Hold Freeze, Spectrum Mode Accurate for 420/450nm White LEDs
Accurate Lux & CCT for Any Light Source. Measure illuminance (LUX) and color temperature (CCT) accurately across LED,…
As an affiliate, we earn on qualifying purchases.
As an affiliate, we earn on qualifying purchases.
Understanding the Role of Lighting in Photography

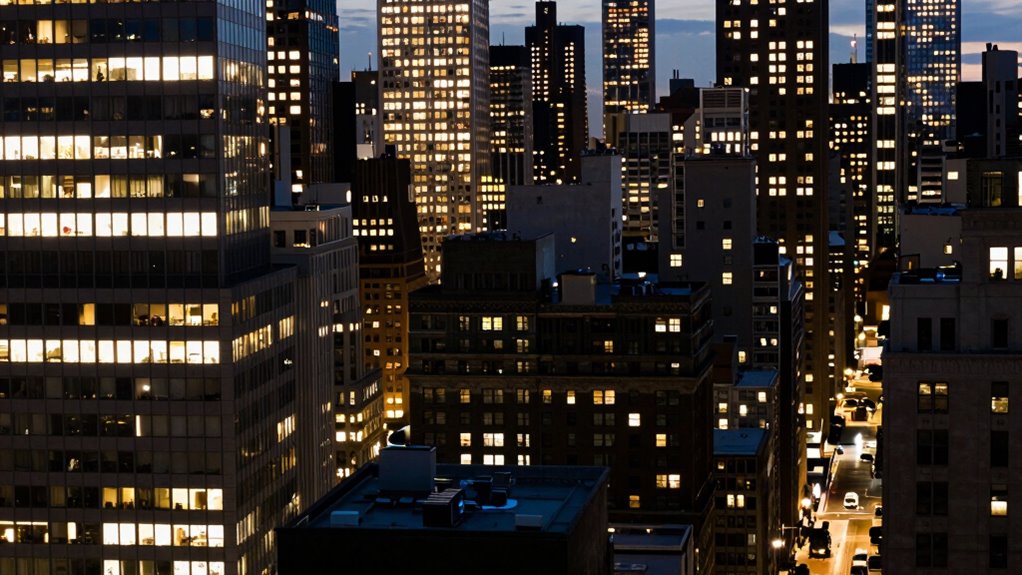
Lighting is the foundation of great photography because it shapes how your subject looks and feels in the image. Understanding lighting color helps you set the mood—warm tones create intimacy, while cooler tones evoke calmness. Shadow softness influences the overall texture and depth; softer shadows give a gentle, flattering look, whereas harsh shadows can be unflattering or dramatic. You control these elements by adjusting your light source’s position, intensity, and quality. Knowing how lighting color interacts with shadow softness allows you to craft images that communicate your intended emotion and story. Additionally, contrast ratio plays a vital role in how vivid and detailed your images appear, especially in scenes with varying light levels. Mastering these basics helps guarantee your photos look polished and professional, rather than flat or confusing. Good lighting isn’t just about brightness; it’s about how color and shadow work together to enhance your subject. Exploring sound healing science can also inspire creative ways to think about the harmony of light and shadow in your compositions. Incorporating natural lighting techniques can further elevate your photography by utilizing the environment to create more authentic and dynamic images. Understanding how vetted lighting options and techniques influence your shots can help you avoid common pitfalls and elevate your work. Recognizing the impact of lighting quality ensures you select the appropriate tools and settings for each situation.

Torjim Softbox Photography Lighting Kit, 16'' x 16'' Professional Softbox Lighting Kit with 85W 3000-7500K LED Bulbs, Studio Lights for Photography/Video Recording/Live Streaming/Portraits Shooting
【Illuminate Your Creativity】 Torjim softbox lighting kit is made of high-quality PET fabric and a foldable nylon cover,…
As an affiliate, we earn on qualifying purchases.
As an affiliate, we earn on qualifying purchases.
Common Lighting Mistakes That Hurt Your Photos

Even experienced photographers can fall into common lighting traps that diminish the quality of their images. One major mistake is ignoring color temperature, which can make photos appear unnatural or off-color. Using lighting that’s too warm or cool without adjusting the white balance can ruin the mood. Another frequent error is poor light direction, such as shooting with light coming from the wrong angle, resulting in unflattering or flat images. Front lighting can wash out details, while side or backlighting adds depth and dimension. Paying attention to both color temperature and light direction ensures your photos look vibrant and well-balanced. Properly managing lighting quality can significantly enhance your photographic results and prevent these common issues. Additionally, understanding the Gold IRA Markets can provide insights into how industry experts evaluate investment strategies, emphasizing the importance of proper planning and quality in your photography approach. To avoid these pitfalls, it’s helpful to learn about lighting techniques and how they influence the overall composition of your images. Being mindful of lighting equipment can also make a significant difference in achieving consistent and professional results. Recognizing the importance of subject placement and how it interacts with lighting can further elevate the quality of your photographs. Avoid these pitfalls, and you’ll produce images that truly showcase your camera’s capabilities.

2-Pack LED Video Light Kit, NiceVeedi Studio Light, 2800-6500K Dimmable Photography Lighting Kit with Tripod Stand&Phone Holder, 73" Stream Light for Video Recording, Game Streaming, YouTube
【MULTIPLE COLOR TEMPERATURE & ADJUSTABLE BRIGHTNESS】There are 3 Color temperatures (2800K, 4800K & 6500K) which offer different lighting…
As an affiliate, we earn on qualifying purchases.
As an affiliate, we earn on qualifying purchases.
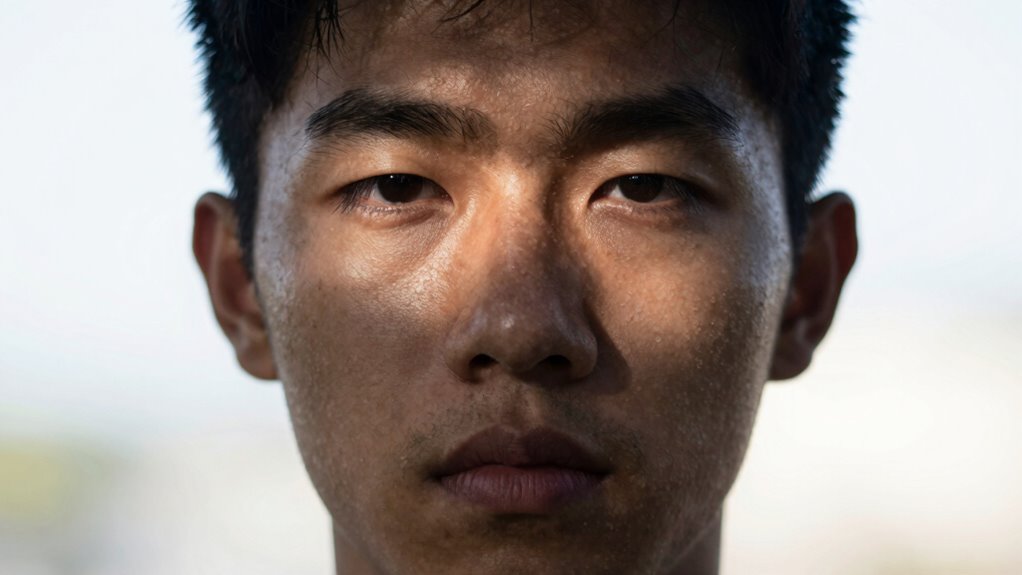
Why Harsh Shadows Make Your Shots Look Unflattering

Harsh shadows can turn an otherwise great shot into an unflattering one by creating stark contrasts that draw unwanted attention to imperfections. Excessive shadow contrast can make your subject’s features appear harsh or uneven, undermining the overall quality. When shadows are too intense, they can also distort color temperature, making skin tones look unnatural or overly cool/warm. This imbalance shifts focus away from your intended subject, distracting viewers and reducing photo appeal. To avoid this, aim for softer, more diffused lighting that minimizes harsh shadows and balances shadow contrast. Adjusting your lighting setup or using reflectors can help control shadow intensity and maintain accurate color temperature. Using appropriate lighting equipment can further ensure your photos look flattering and professional, highlighting your subject’s best features without unflattering shadows. Additionally, understanding the impact of lighting angles can help you position your light sources more effectively for more natural-looking results. Proper light diffusion techniques are also essential in achieving the desired softness and evenness in lighting. Practicing light placement and experimenting with different setups can significantly improve your overall image quality. Incorporating quality light sources can also reduce unwanted shadows and enhance the overall look of your photos.

K&F CONCEPT U-Shape Reflector Curved Reflector 180x60cm with 4-in-1 Reflective Fabric, Black/Gold/White/Silver, with 1.9m Stand, with Storage Bag, for Photography Studios
CURVED DESIGN: The curved reflector mimics the curvature of the human eye, reflecting rounded light and making the…
As an affiliate, we earn on qualifying purchases.
As an affiliate, we earn on qualifying purchases.
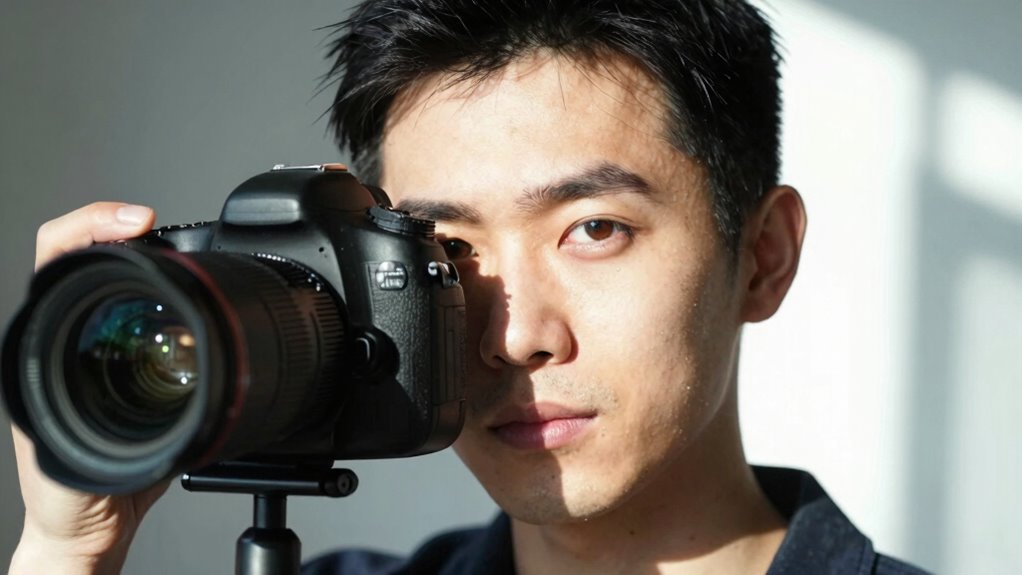
How Incorrect Exposure Washes Out Details

Incorrect exposure can cause your photos to lose essential details, making them appear flat or washed out. When exposure is too high, bright areas become overexposed, losing texture and nuance, while too low exposure can hide shadows and details altogether. Proper light direction plays a vital role—light coming from the right angle highlights depth and texture, but incorrect angles can flatten your image, compounding the problem. Additionally, poor exposure affects color balance, causing colors to look dull or overly saturated, further washing out details. To avoid this, always check your exposure settings carefully, make sure your light direction emphasizes your subject’s features, and maintain a balanced color palette. Being mindful of lighting conditions can also help prevent these issues and ensure your photos retain clarity, richness, and the intricate details that make them stand out. Recognizing the impact of correct exposure on overall image quality is crucial for capturing compelling photographs. Paying attention to the importance of color balance helps preserve the vibrancy and authenticity of your images. Moreover, understanding how coaching and mentoring dynamics can influence your learning process can provide valuable insights into improving your technique and artistic vision. Incorporating knowledge about dream symbolism and the significance of clocks, time, and life mysteries can also inspire creative approaches to your photography, adding a layer of storytelling and depth.
Natural Light Pitfalls and How to Use Sunlight Effectively

Natural light can transform your photos, but if you’re not careful, it can also lead to common pitfalls that diminish their quality. During the golden hour, sunlight creates warm, soft tones that enhance your images, but shooting at this time requires careful timing to avoid harsh shadows. Reflective surfaces, like glass or water, can bounce sunlight unpredictably, causing overexposure or glare. To use sunlight effectively, avoid shooting in the harsh midday sun, which can flatten details and cast unflattering shadows. Instead, position your subject so the light hits from the side or back during golden hour, reducing reflections and emphasizing textures. Being mindful of reflective surfaces and the sun’s angle helps you harness natural light to produce stunning, well-lit photos. Understanding lighting conditions and how they interact with your environment can further improve your results. Additionally, knowing how cruise ship experiences are managed can inspire new ideas for capturing unique outdoor scenes on your travels. Learning about lighting management techniques used in professional photography can also help you adapt to changing conditions and make the most of natural sunlight. Developing a keen sense of natural light behavior allows you to anticipate how light shifts throughout the day and adjust your approach accordingly. Recognizing the importance of cultural celebrations can also influence your outdoor photography, as these moments often provide dynamic lighting opportunities.
Tips for Using Artificial Lighting Without Making Mistakes
Using artificial lighting effectively can dramatically improve your photos, but it’s easy to make mistakes that ruin the shot. To succeed, focus on creative lighting techniques that add depth and mood. Use softboxes or diffusers to create gentle, even light, avoiding harsh shadows. Experiment with light placement to enhance subject features and set the desired mood.
| Tip | Explanation |
|---|---|
| Control light intensity | Adjust brightness to match the scene’s mood, avoiding overexposure. |
| Add accents | Use small lights for highlights, adding dimension and visual interest. |
| Balance color temperature | Match lights to natural tones for consistent, natural-looking images. |
These tips help you craft mood enhancement and creative lighting, elevating your photography.
Quick Fixes to Improve Your Lighting Right Now
When your lighting isn’t working in the moment, quick adjustments can make a huge difference. Start by repositioning your light source to reduce harsh shadows or overexposure. Use a white sheet or foam board to bounce light and soften it, creating more even, creative lighting. Adjust your camera’s angle or height to better capture the mood you want. Dimming or increasing your light’s intensity can instantly change the scene’s mood enhancement, making your subject pop. If you have a portable light, try changing its color temperature for a different vibe. Small tweaks like these can transform the shot, turning dull lighting into dynamic, mood-enhancing visuals. These quick fixes help you craft compelling images without needing elaborate setups.
Frequently Asked Questions
How Does Lighting Affect the Perceived Quality of a Professional Camera?
Lighting directly impacts how your professional camera’s footage appears. When you maintain lighting consistency, your shots look uniform and polished. Proper shadow management prevents harsh contrasts that can distract viewers or obscure details. If you neglect these aspects, even the best camera can produce dull, unprofessional results. So, focus on even lighting and controlling shadows to guarantee your camera captures high-quality, visually appealing footage that truly stands out.
Can Poor Lighting Damage Camera Sensors or Equipment?
Poor lighting doesn’t directly damage your camera sensors or equipment, but it can contribute to sensor damage over time if you repeatedly push the camera to compensate, like increasing ISO or shutter speed excessively. This can lead to equipment degradation, especially if you’re using poorly maintained or low-quality gear. To protect your camera, avoid extreme settings and guarantee proper lighting, which minimizes unnecessary strain and prolongs your equipment’s lifespan.
What Are Common Signs of Bad Lighting in a Photo?
You’ll notice bad lighting in a photo through shadow distractions that obscure details or create uneven tones. Overexposure issues appear when bright areas lose detail, turning white or washed out, which ruins the image’s quality. These signs indicate improper lighting setup, causing your camera to struggle with capturing balanced images. Adjust your lighting to minimize shadows and avoid overly bright spots, ensuring your photos look clear and professional.
How Do Different Light Sources Influence Color Accuracy?
Think of your camera as a vintage film projector; different light sources, like incandescent, LED, or natural sunlight, influence color accuracy through their color temperature. Incandescent lights cast warm hues, while fluorescent and LED lights can produce cooler tones. Light diffusion softens shadows, ensuring colors appear true. To get accurate colors, match your light source’s color temperature with your camera settings, and diffuse harsh light for balanced, natural-looking images.
Are There Specific Lighting Setups for Different Photography Genres?
Yes, there are specific lighting setups for different photography genres. For portraits, natural light or soft artificial illumination creates flattering results. In landscape photography, natural light during golden hour enhances colors. Studio shoots often rely on artificial illumination with controlled softboxes or reflectors to achieve consistent lighting. Understanding your genre helps you choose the right setup, ensuring your images look professional and true to life, regardless of the lighting conditions.
Conclusion
Remember, around 93% of professional photographers agree that good lighting can make or break a photo. By avoiding common mistakes like harsh shadows and improper exposure, you’ll see your images instantly improve. Using natural and artificial light wisely can transform even a basic shot into a stunning one. Don’t be discouraged by early missteps—practice makes perfect. With a few quick fixes, you’ll be capturing beautifully lit photos in no time!